
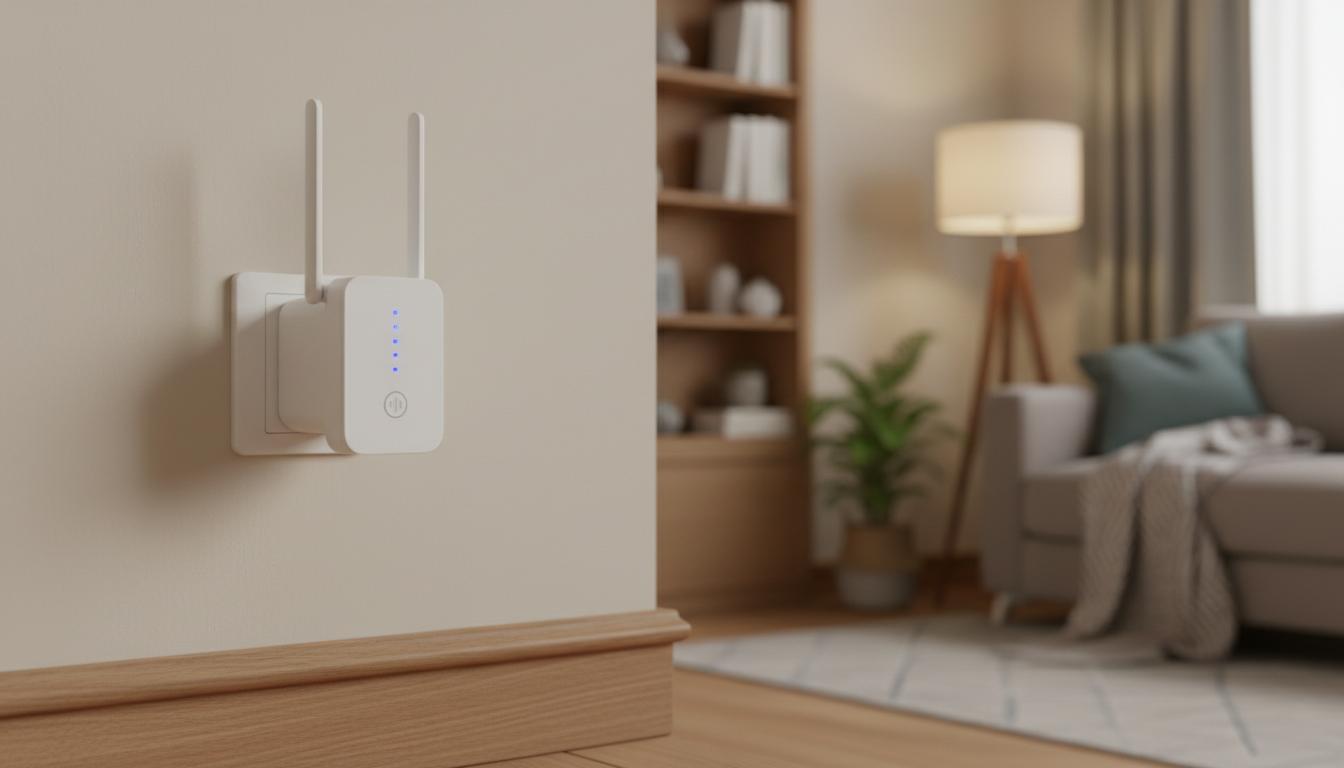
Patchy Wi‑Fi kills streaming nights and home‑office calls. A wifi extender is a fast, affordable way to push your existing signal into dead spots—down the hallway, out to the sleep‑out, or through stubborn brick. This guide explains what a wifi extender is, how it works, when it’s the right choice in New Zealand homes, and how to set it up properly so you get real results, not just more frustration.
What is
A wifi extender (also called a Wi‑Fi booster or repeater) is a device that rebroadcasts your router’s wireless signal to cover areas your router can’t reach. It does not replace your modem‑router from Spark, 2degrees, One NZ, Orcon, Slingshot, or Skinny. Instead, it connects to that router—wirelessly or via cable—and creates a stronger signal further away.
Think of it as a relay runner: your main router starts the race, the wifi extender grabs the baton, and carries it to the rest of your home.
How it works
Most wifi extenders listen to your router on one radio and repeat the signal on the same or another radio. If the extender uses the same band for backhaul (router‑to‑extender link) and front‑haul (extender‑to‑device link), total throughput usually drops because the extender has to receive and then transmit each packet in turn. Dual‑band and tri‑band models reduce that hit by dedicating one band to backhaul. Ethernet backhaul (a cable from router to extender) removes the speed penalty altogether.
Key points under the hood:
- 2.4 GHz travels further through walls but is slower and busier; 5 GHz is faster but struggles with distance; Wi‑Fi 6/6E improves efficiency and capacity.
- Placement matters more than power. A wifi extender needs a strong signal from the router. Put it roughly halfway between the router and the dead zone—not in the dead zone itself.
- Security should match your router. Use WPA2 or WPA3. Avoid WEP.
- WPS buttons help with quick pairing, but an app‑based setup gives you better control.
In NZ fibre homes (UFB via a Chorus ONT), the extender talks to your modem‑router, not the ONT. For rural fixed‑wireless or satellite (e.g., RBI towers or Starlink), the same principles apply: place the wifi extender where it still receives a solid signal from the router.
Types / examples
Different homes call for different tools. Here are common types of wifi extender setups and where they fit best in Aotearoa:
Single‑plug repeaters
Compact units that plug straight into a wall socket and repeat your existing Wi‑Fi. Best for small flats or one stubborn room off the hallway. They’re cheap and simple, but often halve throughput on the repeated band.
Dual‑band or tri‑band extenders
Faster models with two or three radios. Many dedicate one band as backhaul, so your device speeds take a smaller hit. Good for family homes where multiple people stream or game at once.
Extenders with Ethernet backhaul
Some devices can be set to access point mode and connect to your router with an Ethernet cable (or a long flat cable under the skirting). This gives near‑router speeds in distant rooms and is perfect for home offices or sleep‑outs with a discreet cable run.
Powerline Wi‑Fi kits
Use your home’s power wiring to carry data from the router to another room, then broadcast Wi‑Fi there. Handy for older houses with thick walls or for garages where wireless backhaul is weak. Performance depends on your wiring quality and whether both outlets are on the same circuit.
Mesh Wi‑Fi systems
Not strictly a “wifi extender”, but a related alternative. Multiple nodes create a single seamless network across your home. Great roaming and stability; often the best option for large or multi‑storey houses, or if you want to stop thinking about which network to join.
Common NZ scenarios
- Weatherboard villa with long hallway: a dual‑band wifi extender midway often fixes bedrooms at the back.
- 1970s brick unit: 2.4 GHz may punch through, but speeds suffer; a tri‑band extender or powerline kit can help.
- Sleep‑out or office over garage: Ethernet backhaul or powerline beats wireless repeating over that distance.
- Bach with a deck: consider a weather‑resistant access point on the wall near the deck; some extenders can run as APs.
Comparison: wifi extender vs alternatives
| Option | Best use case | Speed impact | Coverage | Setup difficulty | Approx cost in NZD | Pros | Cons |
|---|---|---|---|---|---|---|---|
| Wifi extender (single/dual‑band) | Fix one or two dead spots cheaply | Medium to high if same‑band repeating; lower with dedicated backhaul | Room to small wing | Easy | $60–$200 | Affordable, quick to install | Can halve throughput; roaming can be clunky |
| Powerline + Wi‑Fi | Thick walls; distant garage/office | Low to medium (depends on wiring) | Room to floor | Moderate | $120–$300 | Stable backhaul without new cabling | Variable performance; sensitive to circuits |
| Access point (Ethernet backhaul) | Home office; sleep‑out with cable run | Low (near‑router speeds) | Room to zone | Moderate | $100–$250 | Fast and reliable | Requires Ethernet cable |
| Mesh Wi‑Fi system | Whole‑home seamless coverage | Low with Ethernet or tri‑band backhaul | Whole house, multi‑storey | Moderate | $250–$800+ | Single network name, easy roaming | Costs more than a simple extender |
Pros and cons
Advantages of a wifi extender
- Low cost compared with replacing your router or buying a full mesh kit.
- Fast to deploy—often under 15 minutes.
- Targets problem spots without re‑wiring.
- Flexible: many units can switch between repeater and access point modes.
Limitations to consider
- Possible speed loss, especially on single‑radio repeaters.
- Separate network name (SSID) on many models, which can cause devices to “stick” to the wrong signal.
- Still relies on your existing router—if that’s weak or outdated, you’re amplifying a bottleneck.
- Placement can be fiddly; a few metres can make the difference between great and useless.
How to use or choose
How to choose the right wifi extender in NZ
- Match your router’s Wi‑Fi version. If you have a Wi‑Fi 6 modem‑router from Spark, 2degrees, or One NZ, a Wi‑Fi 6 extender helps keep speeds up.
- Consider your home’s build. Brick and concrete favour tri‑band or Ethernet/powerline backhaul; timber and gib often do fine with dual‑band.
- Check the backhaul options. Models with dedicated 5 GHz backhaul or Ethernet support will outperform same‑band repeaters.
- Look for WPA3/WPA2 support and vendor apps that show signal quality for easier placement.
- Plan for roaming. If seamless roaming matters, consider a mesh kit or an extender that integrates with your router’s ecosystem.
- Budget wisely. Expect roughly NZ$60–$200 for extenders; more if you step up to mesh.
Step‑by‑step: set up a wifi extender properly
- Update your router first. Log in to your modem‑router and apply any firmware updates to fix bugs and improve performance.
- Name your networks clearly. If your router splits 2.4 GHz and 5 GHz, give them distinct names (e.g., Home‑24 and Home‑5) so you can choose the right one during setup.
- Start near the router. Plug the wifi extender into a socket a few metres from the router for initial pairing.
- Connect using the app or WPS. The app usually shows signal strength and is more reliable than WPS.
- Choose the right band. Prefer connecting the extender’s backhaul to your router’s 5 GHz for better speeds, unless distance forces 2.4 GHz.
- Rename the extender’s SSID. Either match your main SSID and password (for simplicity) or keep a suffix like “_EXT” so you can tell where you’re connected.
- Move the extender to its final spot. Aim for halfway between the router and the dead zone, with at least two bars of signal.
- Test with a phone and a laptop. Walk around and run a quick speed test in the problem room; stream a 4K video or join a video call to check stability.
- Tidy channels. On 2.4 GHz, use channels 1, 6, or 11 to avoid overlap. On 5 GHz, avoid DFS channels if you see frequent drops near airports or weather radar.
- Secure and update. Turn off WPS if you don’t need it, enable WPA2/WPA3, and update the extender’s firmware.
Placement tips that matter
- Avoid metal, mirrors, and fridges; they reflect and absorb Wi‑Fi.
- Mount a bit higher than floor level—bookshelf height helps.
- Keep a clear path to the router if possible; fewer walls equals stronger backhaul.
- In multi‑storey homes, place the wifi extender on the stair landing to bridge floors.
Troubleshooting common issues
- Good bars, poor speed: your backhaul may be on 2.4 GHz or congested. Reconnect backhaul to 5 GHz, or switch the device to access‑point mode with Ethernet.
- Devices cling to the wrong network: give the extender a distinct SSID, or consider a mesh kit for better roaming.
- Powerline is slow: move both adapters to wall sockets (not power boards) and keep them on the same circuit if possible.
- Video calls drop near the airport: you may be on a DFS channel. Switch to a non‑DFS 5 GHz channel in the router settings.
- Still unhappy: your router may be underpowered. Upgrading the modem‑router or moving to mesh can be the clean fix.
FAQ
Is a wifi extender the same as a mesh system?
No. A wifi extender repeats your router’s signal and often creates a second network name. A mesh system uses multiple nodes under one name with smarter roaming and backhaul. Mesh costs more but is better for whole‑home coverage.
Will a wifi extender increase my internet speed?
It can improve Wi‑Fi signal in weak areas, which makes your connection feel faster there. It can’t make your plan from your ISP faster than it already is. If you pay for 300 Mbps fibre and only get 30 Mbps by the garage, a well‑placed extender may lift that closer to the full speed—but it won’t exceed your plan’s limit.
Where should I place a wifi extender?
Midway between the router and the dead zone, where the extender still sees a strong signal (about two to three bars). Never in the dead zone itself.
Do I need the same SSID on the extender?
You can use the same SSID and password for simplicity, but roaming may be imperfect. Different SSIDs give you control over which one you join. For seamless roaming, mesh is the better option.
What about 2.4 GHz vs 5 GHz?
Use 5 GHz for the backhaul if the distance allows; it’s faster and less crowded. Use 2.4 GHz for longer reach through walls when needed. Many extenders broadcast both.
Is Ethernet backhaul worth it?
Yes. A cable from router to extender (access point mode) removes the repeater speed penalty and gives the most reliable result, ideal for home offices and streaming devices.
Will a wifi extender work with my NZ fibre setup?
Yes. It connects to your modem‑router (from Spark, 2degrees, One NZ, etc.), not directly to the ONT. Setup is the same as on any broadband connection.
Can I use a powerline kit in a New Zealand house?
Usually, yes. Performance varies by wiring quality and whether both outlets are on the same electrical circuit. Test a few sockets to find the best pair.
How many wifi extenders can I use?
Technically multiple, but chaining extenders often hurts performance. If you need more than one, a mesh system or Ethernet backhaul is the smarter path.
Are wifi extenders safe?
They’re as safe as your router. Use WPA2 or WPA3, change default admin passwords, keep firmware updated, and only buy devices compliant with NZ standards from reputable retailers.
Bottom line
A wifi extender is the quickest fix for a stubborn dead zone in a New Zealand home—cheap to buy, easy to place, and immediately helpful when used well. Choose a model with solid backhaul, place it where the signal is still strong, and secure it properly. If you’re blanketing a large or complex home, consider mesh or Ethernet backhaul for a cleaner, faster result that just works.